
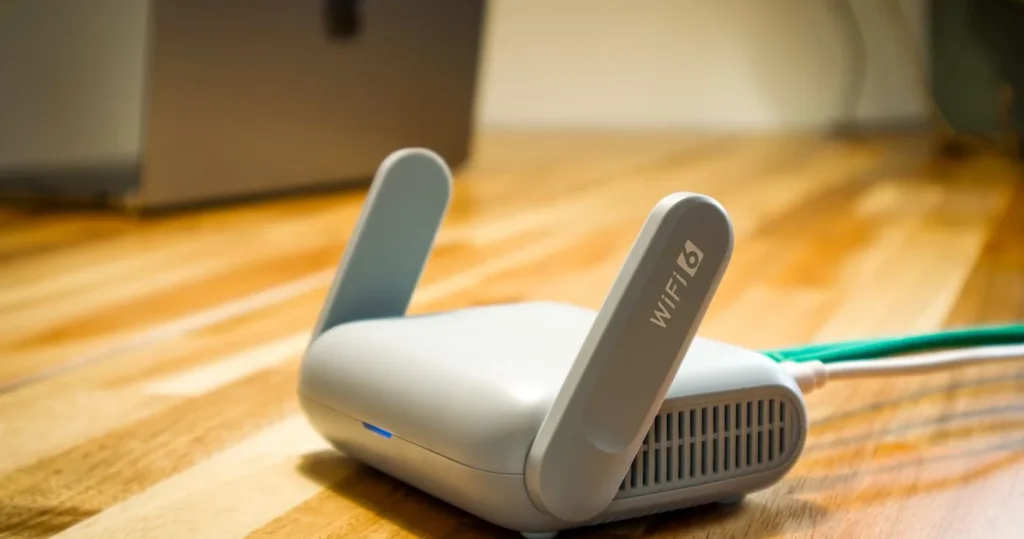
To set up a home network in a Singapore flat you work outwards from one fixed point: the fibre termination point on your wall. From there it is ONT, router, coverage, wired points, then security — in that order. Nearly every guide online starts at “plug the modem into the router”, which skips the two decisions that actually determine whether your WiFi is good here: where that termination point sits, and whether your router is allowed to sit somewhere sensible. This guide covers the full home network setup for an HDB flat or condo, including the parts your ISP installer will not do for you.
What a home network actually consists of
Four things, no matter how big the home:
- The termination point (TP) — the fibre socket on your wall where the outside world ends and your home begins.
- The ONT — the small box that converts fibre to Ethernet. Your ISP supplies it.
- The router — creates your network, hands out addresses, runs your WiFi.
- Everything after it — mesh nodes or access points, a switch if you need more ports, and the cabling that ties them together.
Get the order right and the rest is configuration. Get it wrong — usually by leaving the router wherever the fibre happens to land — and you spend years buying extenders to paper over it.
Step 1: Find your fibre termination point
In most Singapore homes the fibre TP is already installed, and it is rarely in a convenient place: inside the DB cupboard, behind the main door, in a store room or in a bedroom corner. Find it before you buy anything, because it dictates where the ONT must live. If your home has no TP, or you want one somewhere better, that is an installation job with your service provider — and the cheapest time to do it is during a renovation, before the walls close.
Two things worth knowing: a flat typically has a single fibre termination point, and everything else in your home is copper or wireless from that point onwards. So the TP location is not a detail — it is the root of the whole network.
Step 2: ONT and router — and whether to keep the ISP one
Your ISP installs the ONT and usually bundles a router. The bundled router is adequate for a small flat and rarely great beyond that: limited coverage, thin controls, and mesh that only works with the same brand. Two reasonable paths:
- Keep the ISP router if you live in a compact flat, everything already reaches, and you do not need guest or IoT networks.
- Replace it with your own router or a mesh system if you have dead zones, want a separate network for smart devices, or plan to add wired access points later. Connect it to the ONT’s Ethernet port and run the ISP unit in bridge mode or retire it.
Do not run two routers both handing out addresses. If the ISP box stays in the chain, put it in bridge or modem mode so your router is the only one in charge.
Step 3: Put the router somewhere it can actually work
This is the single highest-impact decision in a home network setup, and it is free:
- Central, not cornered. A router at one end of a long flat is broadcasting half its coverage into the corridor.
- Out of the metal cupboard. A DB or riser cupboard is a shielded box; WiFi from inside it is crippled before it starts.
- Off the floor, in the open. Not behind the TV, not inside a cabinet, not under the sofa.
If the TP is in a bad spot — which it often is — the fix is to run one Ethernet cable from the ONT to where the router should be, and put the router there. One cable, permanently better WiFi.
Step 4: Choose your coverage — one router, mesh, or wired access points
| Setup | Suits | Notes |
|---|---|---|
| Single router | Compact flats, open layouts | Cheapest; fails on long or L-shaped layouts |
| Wireless mesh | Most 4- and 5-room flats and condos | Easy; nodes share airtime unless wired |
| Mesh with wired backhaul | Renovating homes, larger units | Best real-world speed; needs a cable per node |
| Wired access points | Landed, multi-storey, heavy device counts | Most stable; plan during renovation |
If you are deciding between mesh and a plug-in extender, our mesh WiFi vs extender guide covers why an extender usually halves throughput in the area it covers.
Step 5: Run the wired points while you can
Wireless is for devices that move. Everything that does not move is better wired: the TV, the desktop, the console, the NAS, the CCTV recorder and every mesh node or access point. Cabling is cheap and invisible during a renovation and expensive and ugly afterwards, so decide the points now:
- One to the TV wall, two if there is a console.
- One to each study or work desk.
- One to each planned access point location, in the ceiling or high on the wall.
- One back to wherever the router will live — this is the point people forget.
Cat6 is the sensible default for anything you pull today, and existing Cat5e still carries gigabit — so keep what is already in the wall and spend on extra points instead. Our Cat5 vs Cat6 comparison spells out where the difference actually shows up, and structured cabling covers how the points are terminated and tested.
Step 6: Configure it properly — the ten minutes most people skip
Once it is powered up, do these before you connect the household:
- Change the router admin password. The sticker default is not a password.
- Set your own network name and a strong passphrase, and turn on WPA3 if every device supports it, WPA2 otherwise.
- Decide on the 2.4 GHz band. Smart bulbs, switches, plugs and many cameras are 2.4 GHz only. If the router merges both bands under one name, some of them will refuse to pair. A separate 2.4 GHz network for smart devices solves the pairing problem and keeps that traffic away from your laptops.
- Turn on a guest network so visitors never touch the network your cameras and NAS live on.
- Update the firmware, then leave automatic updates on.
- Name your devices in the router app as you connect them — an unlabelled device list is useless the day you need it.
Step 7: Test room by room, not from the sofa
Walk the whole home with a speed test and check the far bedroom, the kitchen, the yard, the bathroom and the balcony — the places people actually complain about. Test on the band your devices will use, not just the fastest one, and check that your phone hands over between mesh nodes without dropping a video call. If one room is consistently weak, the answer is a node or an access point there, ideally on a cable — not a stronger router.
Common Singapore home network mistakes
| Mistake | Why it hurts |
|---|---|
| Router left in the DB cupboard | Metal enclosure kills WiFi before it leaves the box |
| ISP router plus a second router, both routing | Double NAT — breaks port forwarding, cameras and some apps |
| Mesh nodes placed by the dead zone | Nodes need signal from the main unit; place them between, not at the edge |
| One merged SSID with 2.4 GHz-only smart devices | Pairing fails; devices drop off after power cuts |
| No cable to the router location | Locks you into wireless backhaul forever |
| Everything on the default admin password | Anyone on your WiFi can reconfigure the network |
If you are renovating, do this now
Renovation is the one window where the expensive parts are cheap. Decide the router location and run a cable to it, pull cabling to each access point position and to the TV and study walls, and leave a tidy spot with power for the ONT, router and switch. Do that and the network is finished for a decade; skip it and every future fix is a trunking job. If a whole-home smart home is on the plan, this step is not optional — every camera, hub and switch you add later leans on it.
Frequently asked questions
How do I set up a home network step by step?
Locate the fibre termination point, connect the ONT, decide where the router should live and run a cable to it if needed, choose single-router or mesh coverage, wire the fixed devices and access points, then configure the admin password, WiFi name, WPA3, a 2.4 GHz network for smart devices and a guest network. Finish by testing every room.
Do I need to use the router my ISP gave me?
No. The ONT must stay, but you can put your own router or mesh system behind it. If you keep the ISP unit in the chain, set it to bridge mode so only one device is routing — two routers handing out addresses causes double NAT and breaks cameras and remote access.
Where should the router go in an HDB flat?
As central and as open as possible — not inside the DB cupboard, not behind the TV, not on the floor. If the fibre termination point is in a bad corner, run one Ethernet cable from the ONT to a better location and put the router there.
How many mesh nodes does a flat need?
Most flats are fine with two to three, placed between the router and the weak areas rather than at the far edge. Larger or multi-storey homes need more, and any node you can put on a cable will perform noticeably better than one relying on a wireless link.
Should I wire my home or just use WiFi?
Both. Wire everything that does not move — TV, desktop, console, recorder, access points — and use WiFi for phones, tablets and smart devices. A few cables carry the load and leave the airwaves free for the things that need them.
Why do my smart devices keep dropping off the network?
Usually the 2.4 GHz band. Most smart plugs, bulbs and switches cannot see 5 GHz, so a merged network name causes pairing failures and repeated dropouts. Give them a dedicated 2.4 GHz network and the problem generally disappears.
Want a home network you never think about again?
We plan the layout around your termination point, place the router and access points where they actually work, run and test the cabling, and set up the WiFi, guest and smart-device networks properly. See how we build a home network and WiFi setup in Singapore, or send us a floor plan for a coverage plan.
Guidance here is general; termination point locations, ISP equipment and building layouts vary. Wireless performance depends on your equipment, construction and internet plan. Any new fibre point or in-wall electrical work should be arranged through your service provider or a licensed contractor.